

Basement / Burning Basement
Monstro
Monstro teaches two early habits: leave space for a projectile spread and move when a boss jumps toward you.
From your first floor to the final boss
Start with Monstro's jumps, Dingle's charges, and Mom's stomp warnings. Then follow the core ending path or prepare for Hush, Mother, and the other late encounters. Every guide connects attack cues and practical dodges with boss data and route context.
The encounter list · 26 reviewed guides
Early encounters, the first Mom fight, and The Bloat's dangerous laser lines. These guides explain normal boss behavior; champions can differ.
Basement / Burning Basement
Monstro teaches two early habits: leave space for a projectile spread and move when a boss jumps toward you.
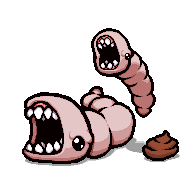
Basement / Burning Basement
Larry Jr. is a moving traffic problem: segmented worms change direction while poop blocks your escape lanes.

Basement / Cellar / Burning Basement
The Duke of Flies surrounds himself with flies that block tears, then sends threats toward Isaac.

Cellar
Pin alternates between a jump toward Isaac and a brief emergence to spit an explosive shot.

Basement / Burning Basement
Dingle switches between aimed shots, summoned Dips, and a sequence of three fast dashes.
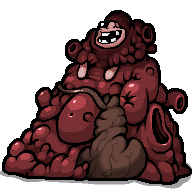
Caves / Flooded Caves
Gurdy stays in the upper middle of the room, using directional volleys and summoned flies to limit your position.

Caves / Flooded Caves
Chub roams in straight lanes, charges when lined up with Isaac, and spawns smaller Chargers.
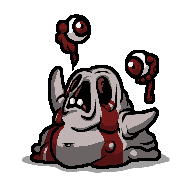
Necropolis / Utero
The Bloat punishes standing below or beside him with fast lasers while bouncing eyes and creep restrict movement.
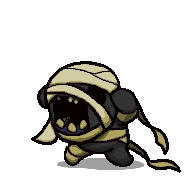
Cellar / Burning Basement
Rag Man turns his rolling head into Raglings, then revives their remains while restoring his own health.

Cellar
The Haunt begins protected by smaller ghosts, then moves along the upper wall to fire downward attacks.
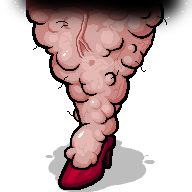
Depths II / Necropolis II / Dank Depths II
Your first main-path finale combines a shadow-marked foot stomp with attacks and enemies from the four wall doors.

Basement / Cellar / Burning Basement
Baby Plum combines moving projectile patterns with a ground slam. You can also spare her in her own Boss Room.
From the Womb split through the Cathedral, Chest, Sheol, and Dark Room.

Womb II / Utero II
The Womb finale alternates between exposed projectile patterns and periods with summoned enemies.
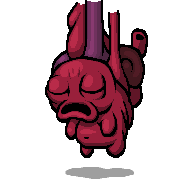
Womb II / Utero II
The permanent successor to Mom's Heart uses the same core patterns with different enemies in its summon waves.

Cathedral
The Cathedral boss develops from stationary projectile patterns into a mobile phase with sweeping light beams.

Chest
The Chest boss, ??? (Blue Baby), echoes Isaac's phases at a faster pace and adds flies and homing shots.
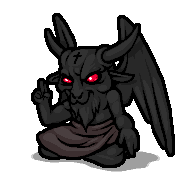
Sheol
The Sheol finale begins with The Fallen, then moves through Satan's projectile and stomping forms.

Dark Room
The Dark Room boss shifts from a single moving target to a separate attacking head and body.
Alternate endings, the Void, Home, and the Greed Mode finales.
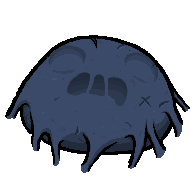
Blue Womb
A long two-part encounter that shifts from a familiar opening to a much larger projectile fight.

The Void
An unpredictable large-room fight built around rapid teleports, projectile patterns, and copied boss forms.
Corpse II
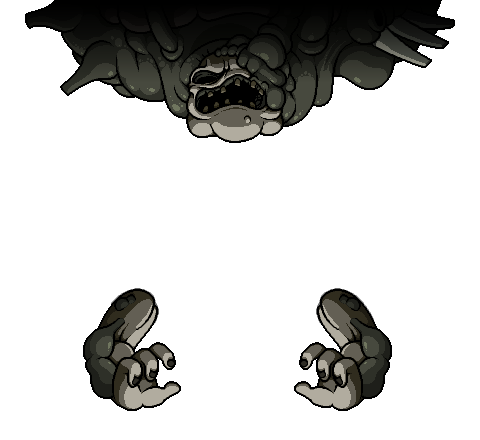
The alternate-path finale changes from a wall-mounted boss to a mobile second phase in a taller arena.
Home
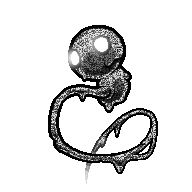
The Home finale begins with the television, then changes to Dogma's airborne form.
Home
A side-scrolling finale preceded by four Ultra Harbingers in a fixed order.

Chest / Dark Room
A gated ending fight with hands, several waves of summoned bosses, and a final skull phase.

Greed Mode
The Greed Mode finale mixes coin projectiles with special coins that can change the room.
Greedier Mode
The golden second phase of the Greedier finale turns many attacks into explosive hazards.
These are short reviewed fight notes for the Repentance boss database. Raw health and spawn data on each boss page come from the supplied game files. Each guide links to a full behavior reference for more detailed patterns.